Day 2: Tracking Use Cases with @track
📋 Overview
Welcome to the next section of our learning path! In the previous section, you learned how to track individual users with the track_context() function. Now, we'll take another step forward by exploring how to assign specific Use Cases to your GenAI calls.
Goal: Learn how to override the default Use Case and assign specific Use Cases to different functions using @track(use_case_name).
Recap: Annotations So Far
As we covered in the first section, when you initialize Pay-i with payi_instrument(), all GenAI calls are automatically assigned to a default Use Case (named after your Python module). This is convenient for getting started, but not ideal for production applications with multiple AI-powered features.
In the previous section, we introduced the track_context() function to add user context at runtime. Now, we'll introduce the @track decorator which is ideal for static annotations like use case names.
Why Use @track for Use Cases?
@track for Use Cases?While track_context() is best for runtime values like user IDs that change per request, the @track decorator is perfect for static values like use case names that remain the same for every call to a particular function:
- Use case names are typically defined once and remain constant
- They're associated with the function's purpose, not with request-specific data
- Using the decorator makes the code's intention clear at the function definition
Why Use Custom Use Cases?
Assigning specific Use Cases to different functions in your application provides several important benefits:
- Cost allocation: Understand which features are driving your AI costs
- Usage analysis: Analyze usage patterns across different AI workflows
- Granular limits: Apply budget constraints to specific features
- Performance tracking: Monitor response times and token usage per feature
- KPI tracking: Define and track specific Key Performance Indicators for each Use Case
- Versioning: Track different versions of your AI implementations (varying models, prompts, or providers for the same functional purpose)
- A/B testing: Run controlled experiments between different AI approaches and measure their performance differences
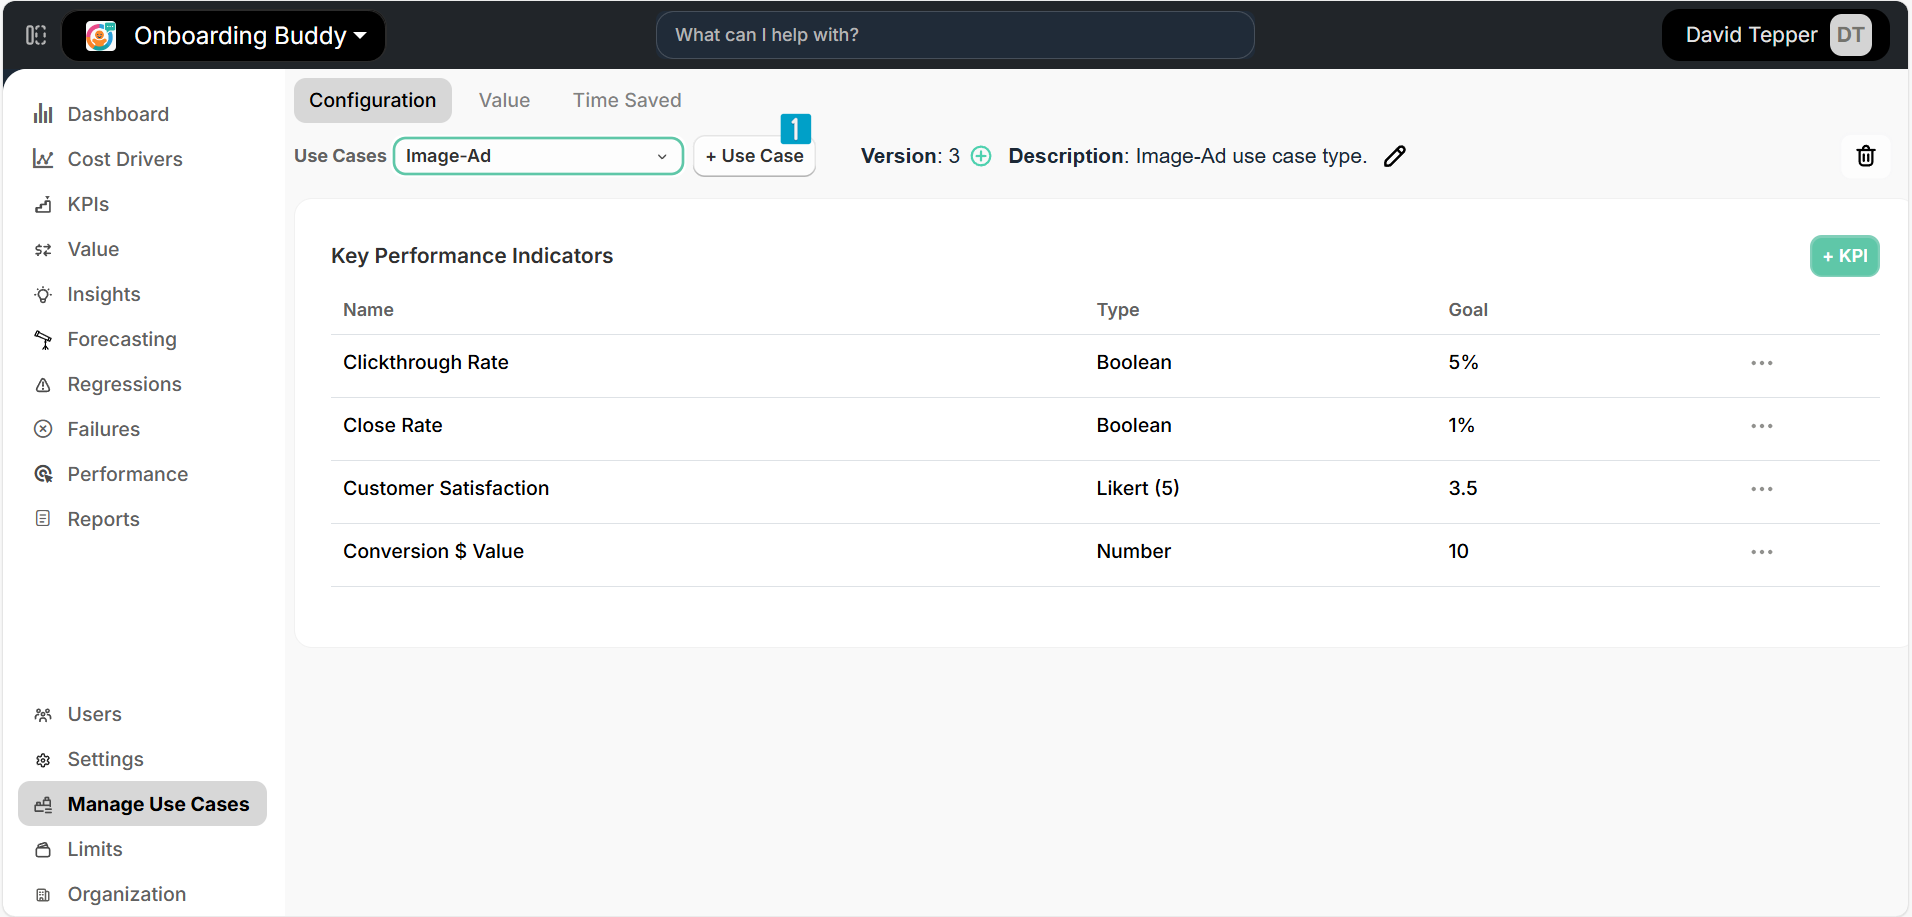
🔍 Prerequisite: Creating Use Cases
Important: Before you can specify a Use Case in code with @track(use_case_name), the Use Case definition must exist in Pay-i. If you specify a Use Case name that doesn't exist, you'll get an error with a xproxy_error.code value which tells you the specific error with clear partial message matching. When using @track in proxy mode, the error will be in the returned value, while when using @track in ingest mode, the ingest call will fail but the return value from the provider API will not change.
For the code examples below to work, you need to create these exact Use Case names in the Pay-i Developer Portal:
-
Log in to developer.pay-i.com
-
Navigate to your application dashboard
-
Click on Manage Use Cases near the bottom of the left navigation menu
-
Click the +Use Case button ① in the top right
-
Enter the following information:
- Name:
chatbotin the Name field ② (use lowercase with underscores) - Description in the Description field ③:
AI responses for our customer-facing chatbot. Tracks all conversational AI interactions with end users.
- Name:
-
Click Create
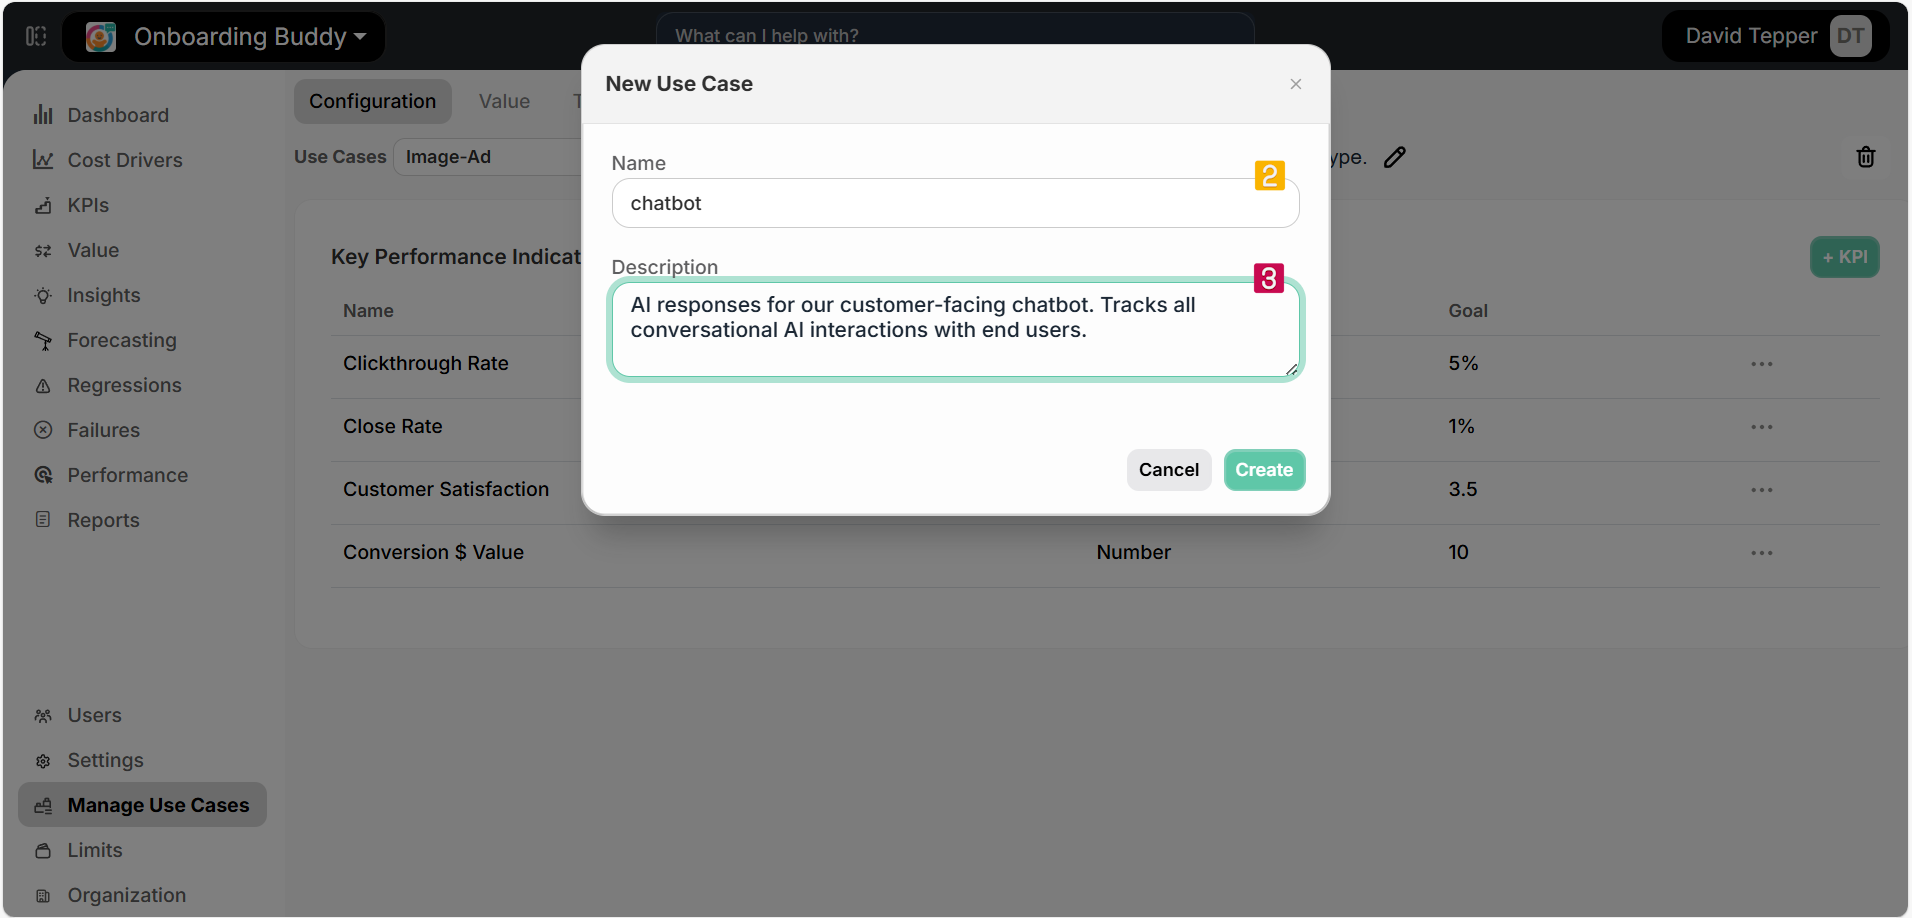
Important: Use Case names must be unique, contain only alphanumeric characters, periods (.), hyphens (-), and underscores (_). Spaces are not allowed, and names are limited to a maximum of 64 characters. Use Case names are case-sensitive when referenced in code.
- Repeat these steps to create a second Use Case with:
- Name:
document_summarizer - Description:
Summarization of documents and long-form text. Used for content compression and information extraction.
- Name:
- You will see your two newly created use cases displayed in the Use Cases dropdown. For each of these use cases you can now create KPIs. For details on working with KPIs, see the Use Case KPIs and Working with KPIs documentation.
🔑 Core Concept: @track(use_case_name)
@track(use_case_name)The @track decorator accepts a use_case_name parameter that lets you specify which Use Case should be associated with GenAI calls made within a function.
Note: The
use_case_nameparameter will apply to all GenAI calls made within the decorated function, including any calls made in subfunctions that are called by your decorated function. This inheritance behavior allows you to easily categorize entire workflows with a single decorator.
Basic Usage
Here's how to assign a specific Use Case to a function:
import os
from openai import OpenAI
from payi.lib.instrument import payi_instrument, track

# Initialize Pay-i instrumentation
payi_instrument()

# Configure OpenAI client
client = OpenAI(api_key=os.getenv("OPENAI_API_KEY"))

# Apply the decorator with a specific Use Case
@track(use_case_name="chatbot")
def get_chatbot_response(prompt):
    response = client.chat.completions.create(
        model="gpt-3.5-turbo",
        messages=[{"role": "user", "content": prompt}]
    )
    return response.choices[0].message.content

# Apply a different Use Case to another function
@track(use_case_name="document_summarizer")
def summarize_document(text):
    response = client.chat.completions.create(
        model="gpt-3.5-turbo",
        messages=[
            {"role": "system", "content": "Summarize the following text concisely:"},
            {"role": "user", "content": text}
        ]
    )
    return response.choices[0].message.content

# Call the functions to see them in action
chat_response = get_chatbot_response("Tell me a short joke")
print(f"Chatbot response: {chat_response[:50]}...\n")

long_text = """
Why did the scarecrow win an award?
Because he was outstanding in his field.
"""
summary = summarize_document(long_text)
print(f"Document summary: {summary[:50]}...")
In this example:
- All GenAI calls within
get_chatbot_response()will be assigned to thechatbotUse Case - All GenAI calls within
summarize_document()will be assigned to thedocument_summarizerUse Case - Any other GenAI calls in your application will still go to the default Use Case
Combining Use Cases and User IDs
You can combine @track for static use case names with track_context() for dynamic user IDs and other metadata:
from payi.lib.instrument import track, track_context

# Use @track for the static use case name
@track(use_case_name="chatbot")
def get_personalized_response(prompt, user_id):
    # Use track_context for the dynamic user ID
    with track_context(user_id=user_id):
        response = client.chat.completions.create(
            model="gpt-3.5-turbo",
            messages=[{"role": "user", "content": prompt}]
        )
    return response.choices[0].message.content
This approach gives you the best of both worlds: you can analyze usage by both feature (Use Case) and user, while using the right tool for each type of information.
✅ Verification: Checking Use Case Assignment
To verify that your Use Case assignments are working correctly:
- Run your application and make several AI calls through your decorated functions
- Log in to developer.pay-i.com
- Navigate to your application dashboard
- Click on Cost Drivers in the left sidebar
- Select the Use Cases tab at the top of the page
You should see your requests grouped by their respective Use Cases. This allows you to analyze:
- How many requests each feature is generating
- The average cost per feature
- Token usage patterns across different features
- Response times for different AI functionalities
You can also filter by Use Case to focus on specific features of your application.
➡️ Next Steps
Congratulations! You've learned how to categorize your GenAI calls by both user and Use Case, giving you much more granular visibility into your AI usage patterns.
In the next section, we'll continue exploring the @track decorator by introducing another powerful capability: applying cost and usage Limits using @track(limit_ids=[...]).
💡 Additional Resources
- Use Cases concept page - Deeper dive into Use Cases
- Use Case KPIs - Learn how to measure and track KPIs for your GenAI applications
- Working with KPIs - Step-by-step guide for creating and managing KPIs
- Custom Instrumentation guide - Comprehensive coverage of instrumentation options
- Track Decorator reference - Details on the
@trackdecorator and its parameters - Track Context reference - How to use the
track_context()function we learned in Day 2 - Handling Errors - Guide to handling errors in Pay-i
Updated 3 months ago