Day 1: Basic Instrumentation with payi_instrument()
Basic Instrumentation with payi_instrument()
📋 Overview
Welcome to our learning path to onboard to Pay-i! This series is designed to progressively introduce you to Pay-i's features, starting with the simplest concepts and building toward more advanced functionalities.
Goal: Learn the absolute simplest way to start tracking your GenAI calls using payi_instrument().
🚀 Getting Started
Instrument your GenAI provider calls with Pay-i to automatically track costs, manage budgets, analyze usage patterns, and much more. This guide will walk you through the complete process from creating an application to viewing your tracked events.
1️⃣ Create an Application in Pay-i Developer Portal
Before you begin coding, you'll need to set up your application and get your API key:
-
Log in to developer.pay-i.com
-
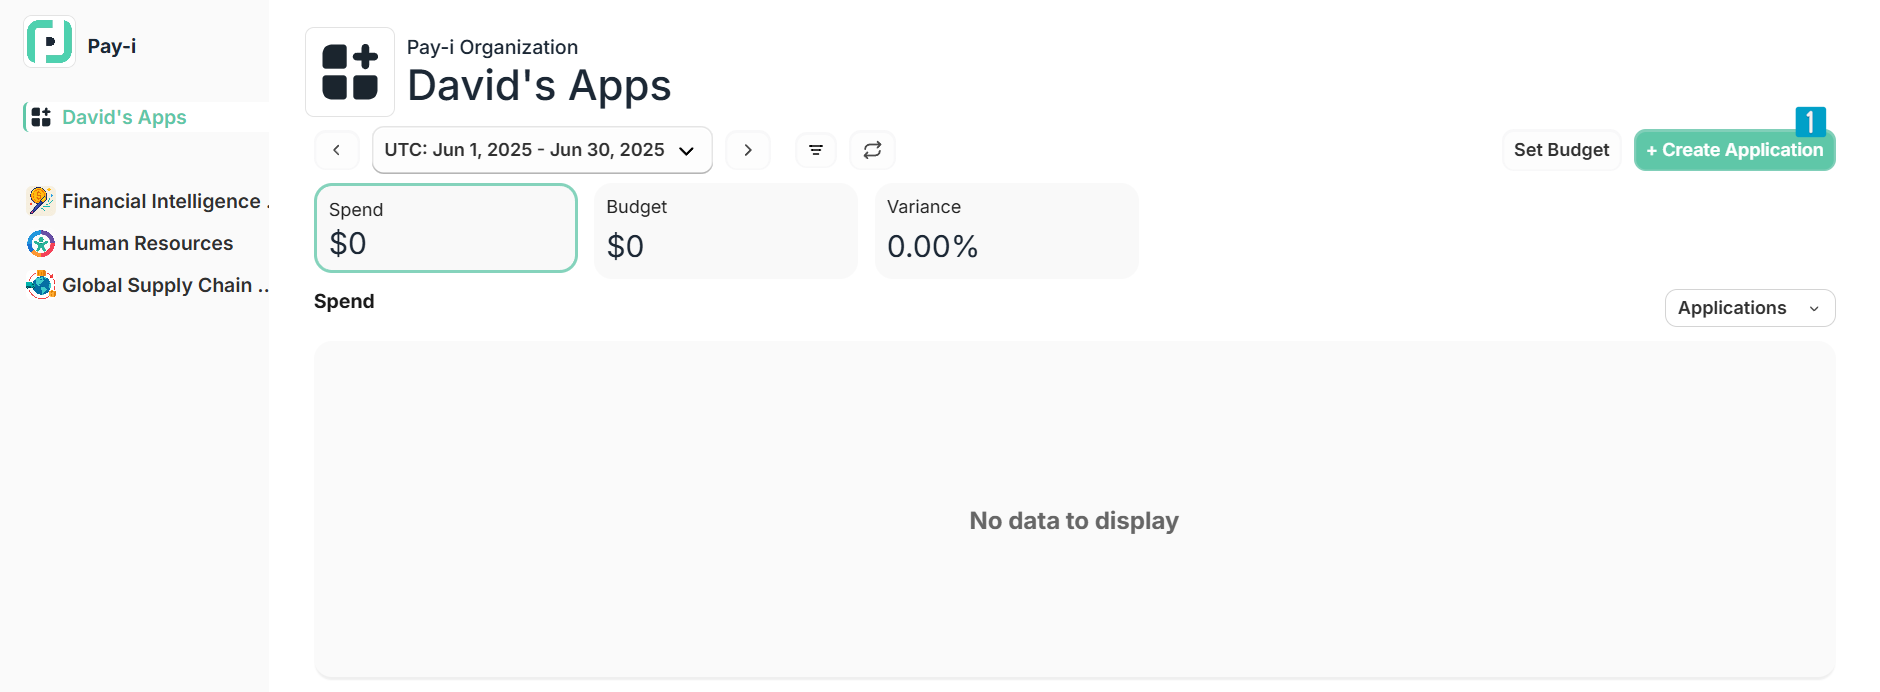
Click on Your Apps button in the top-left corner
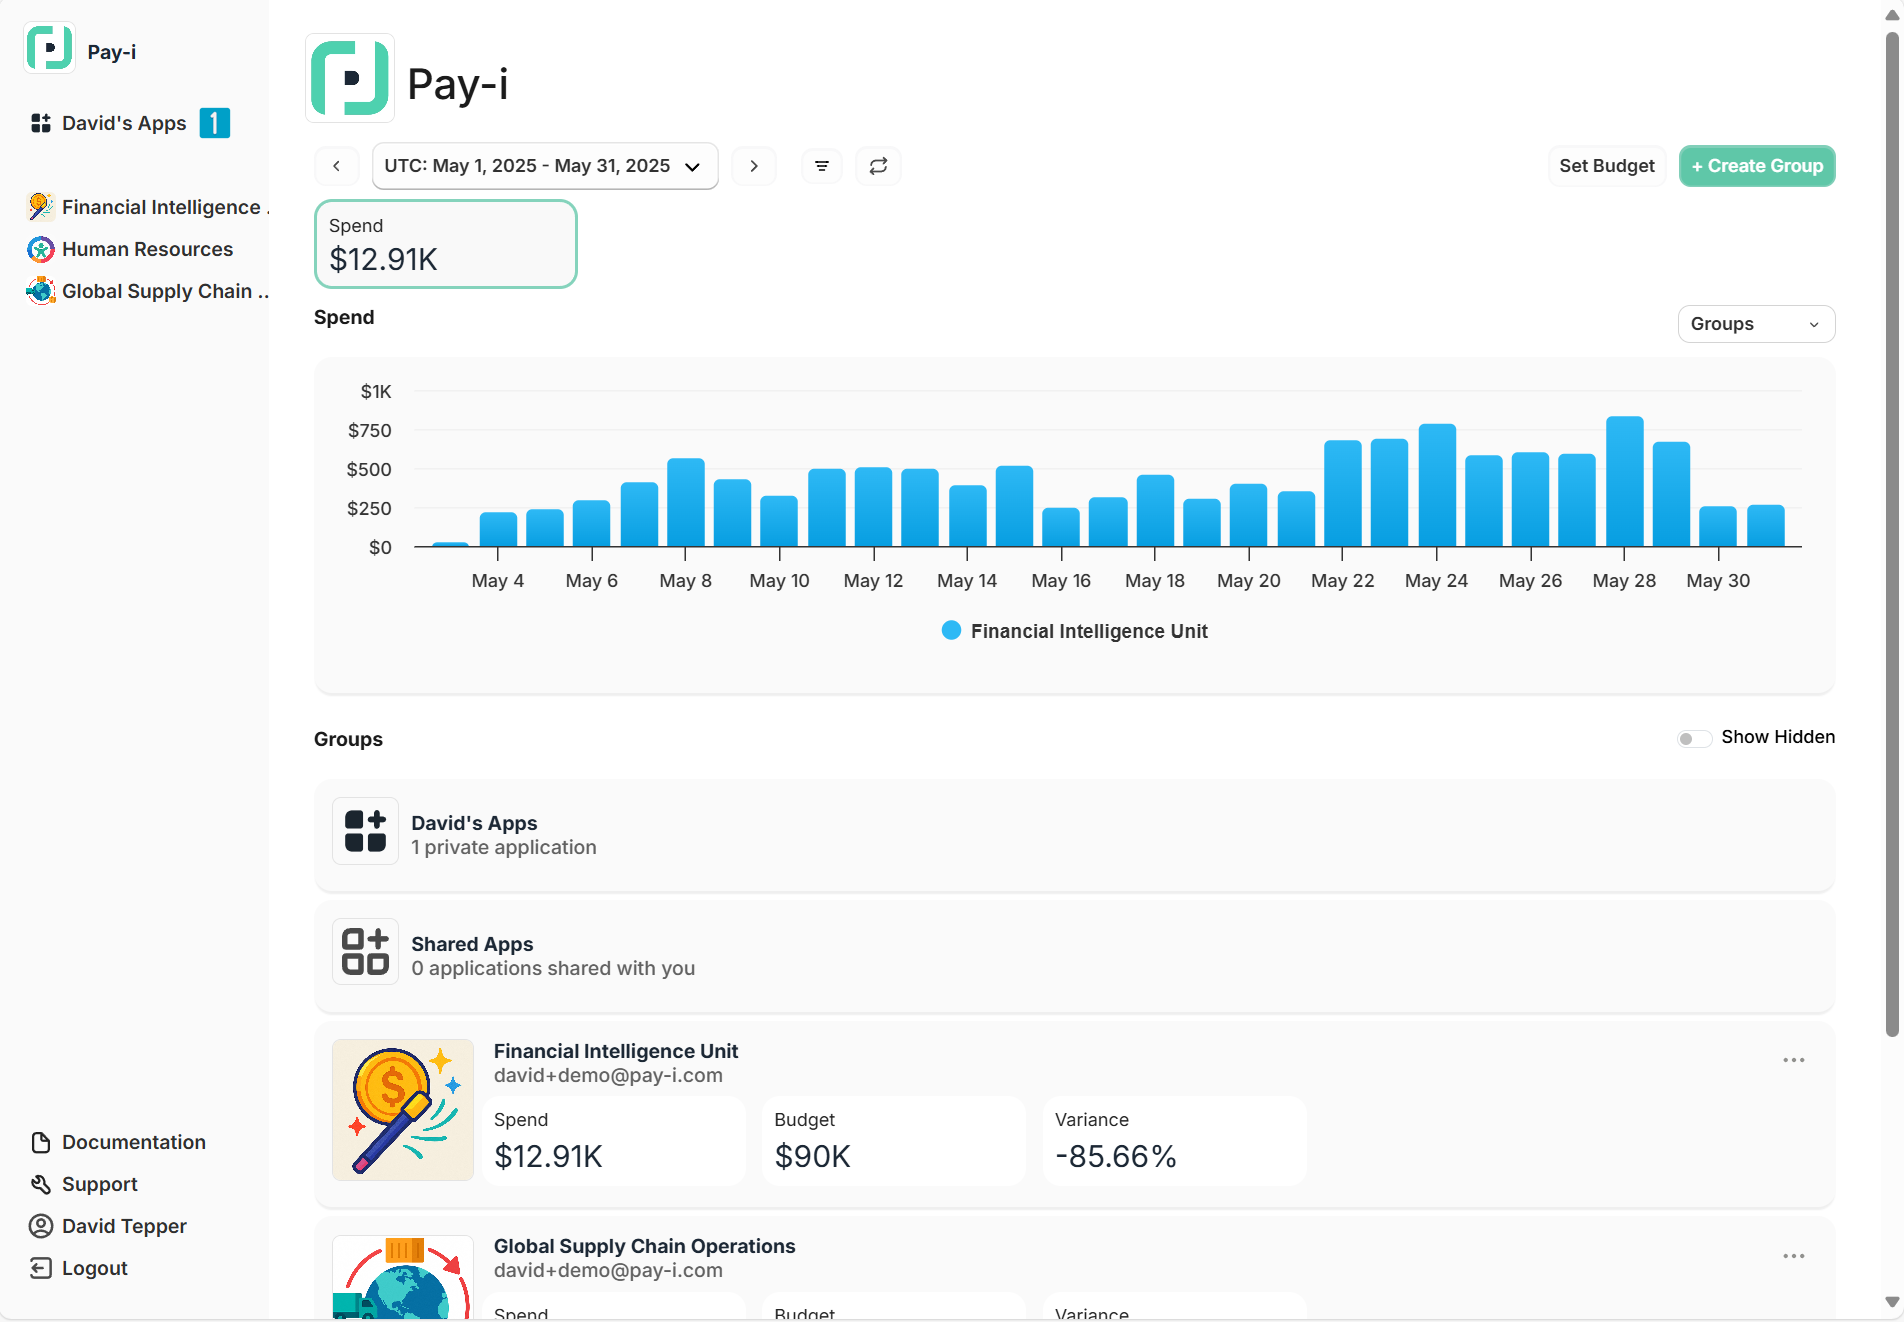
-
Click on +Create Application button in the top-right corner
-
Enter an application name (e.g., "Quickstart") and select a group
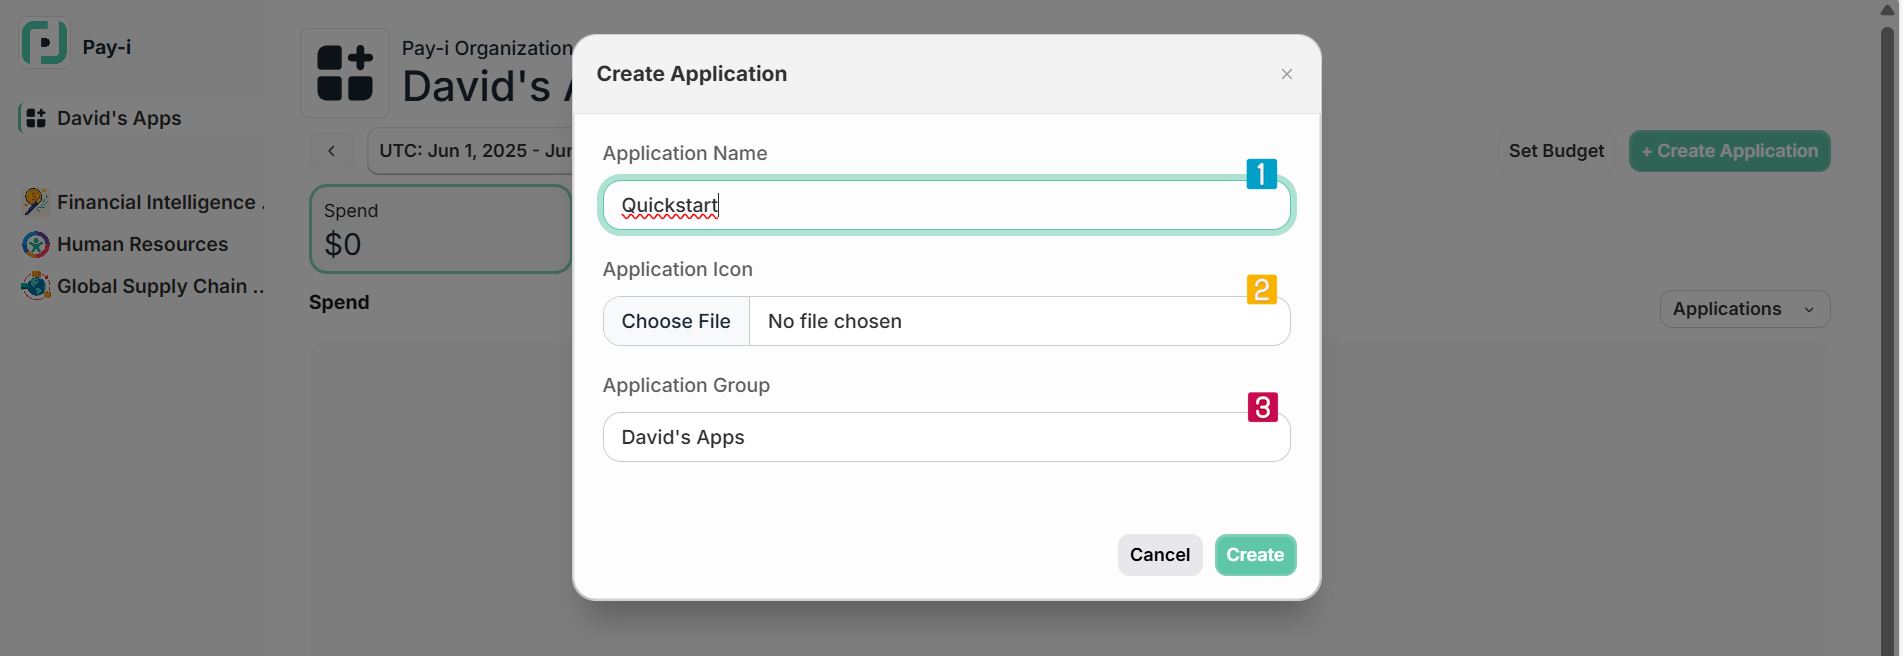
-
Once created, new App Settings will open automatically. Under the API section, copy your Primary API Key for use in the next steps
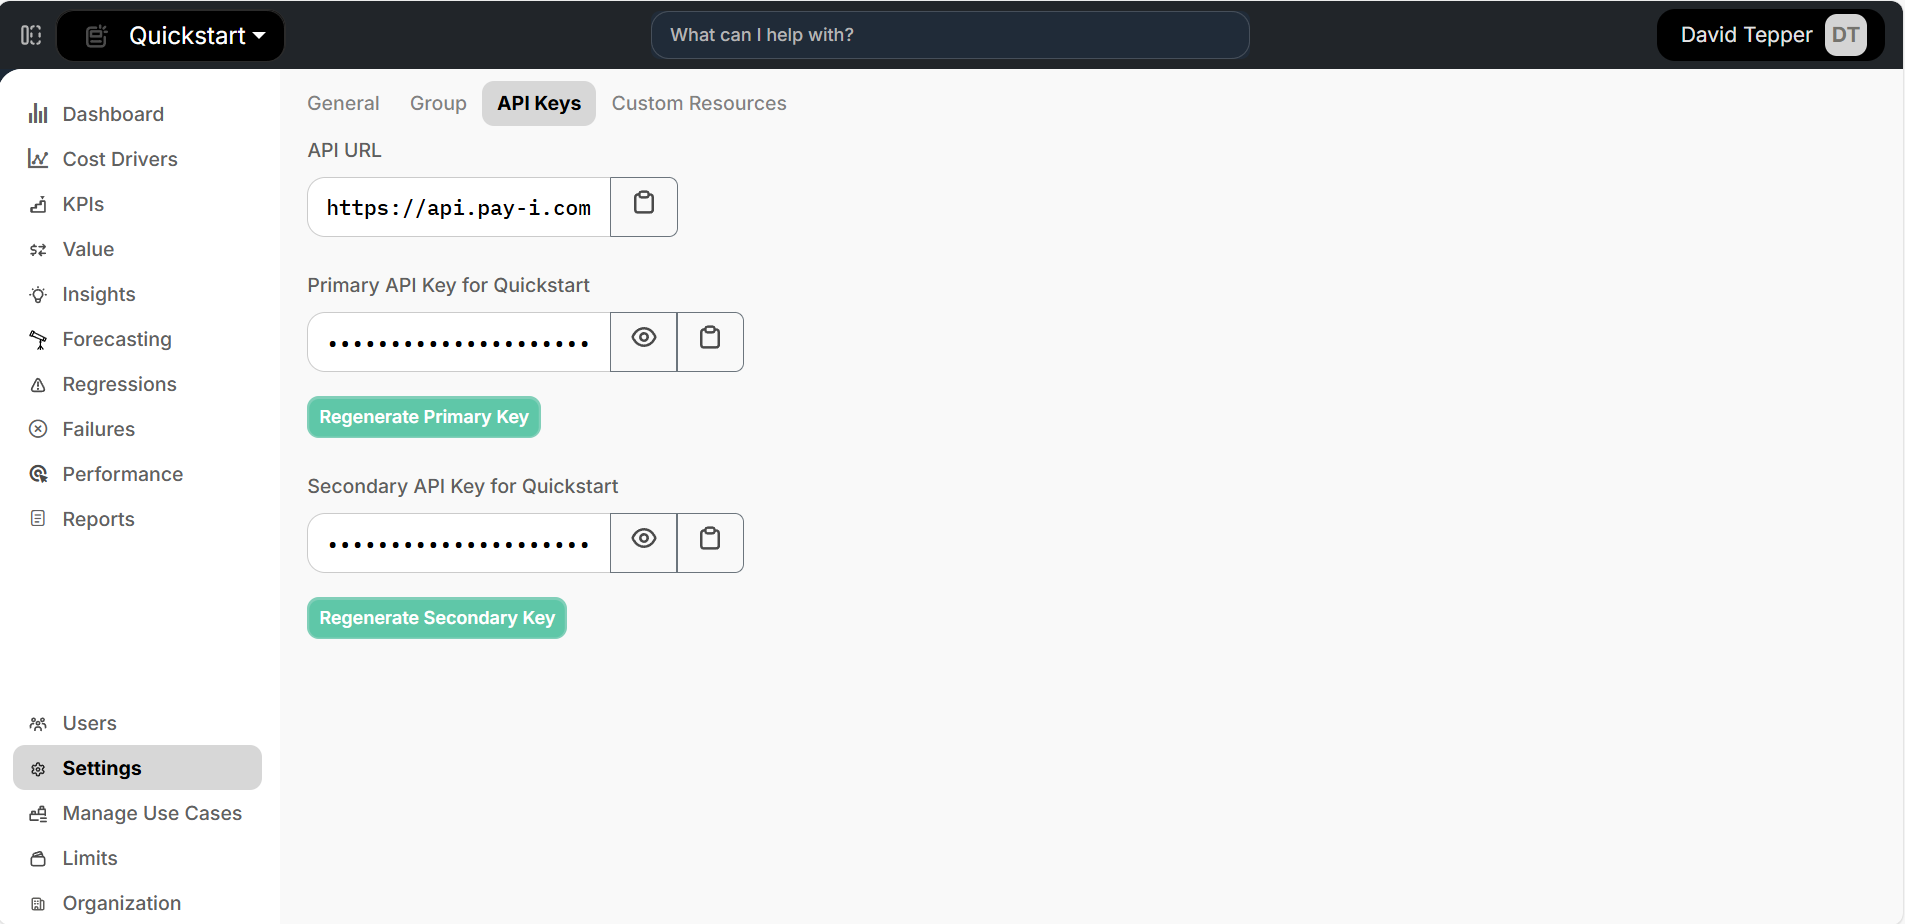
Note about Groups: Each user gets a personal group for private applications that aren't shared with others. If you need to share applications with team members, you'll need to move them to a shared group. Groups help organize related applications and provide aggregated metrics.
2️⃣ Install SDK
Install the Pay-i SDK along with your AI provider's SDK:
pip install --upgrade payi openai
%pip install --upgrade payi openai
3️⃣ Set API keys
Create a .env file in your project directory (recommended):
- Install python-dotenv:
pip install python-dotenv
- Create a
.envfile with your API keys:
OPENAI_API_KEY=sk-...  # Your OpenAI API key
PAYI_API_KEY=...       # Your Pay-i API key from step 1
- Add
.envto your.gitignorefile to prevent accidentally committing your API keys.
For non-Python environments or alternatives, see Environment Variables.
🔑 Core Concept: payi_instrument()
payi_instrument()The payi_instrument() function is your entry point to enabling Pay-i's auto-instrumentation for supported GenAI providers such as OpenAI, Anthropic, Azure OpenAI, and AWS Bedrock. To learn more:
- For a detailed reference on the
payi_instrument()function, including all configuration options and parameters, see the payi_instrument() documentation - For a broader overview of how auto-instrumentation works across different providers, see the Auto-Instrumentation documentation
Here's a minimal example showing how to use it:
import os
from dotenv import load_dotenv
from openai import OpenAI
from payi.lib.instrument import payi_instrument

# Load environment variables from .env file
load_dotenv()

# Initialize Pay-i instrumentation (automatically intercepts calls to supported providers)
payi_instrument()

# Configure OpenAI client
client = OpenAI()

# Make API calls as usual - they'll be automatically tracked
response = client.chat.completions.create(
    model="gpt-3.5-turbo",
    messages=[{"role": "user", "content": "Hello, world!"}]
)

print(response.choices[0].message.content)
That's it! With just that single call to payi_instrument(), Pay-i will automatically:
- Intercept calls to supported GenAI providers
- Calculate costs and token usage
- Send telemetry to the Pay-i service
- Provide insights through the Pay-i portal
Default Use Case
When you use payi_instrument() without any additional configuration, Pay-i automatically assigns all tracked calls to a default Use Case.
The default Use Case is named after your Python file name which calls payi_instrument(). For example, if your code is running in a file called summarizer.py, all your GenAI calls will be assigned to a Use Case named "summarizer".
This automatic naming is great for development and getting started quickly. For testing and production environments, however, you'll want to specify a more meaningful default Use Case name as a parameter to payi_instrument()—we'll cover how to do this later in the learning path.
What are Use Cases?
Use Cases in Pay-i are a way to categorize different features or workflows in your application. Think of them as logical groupings of AI interactions that serve a specific purpose, such as:
- "Chat Bot"
- "Summarization Service"
- "Document Analysis"
- "Email Assistant"
These categorizations help organize your cost and usage data in the Pay-i portal, making it easier to understand how different parts of your application are utilizing AI services.
Note: We'll cover how to define custom Use Cases later in this learning path.
For a deeper dive into what Use Cases represent, see the Use Cases concept page.
✅ Verification: View Your Events
After running your code, you can view your tracked events:
- Return to developer.pay-i.com
- Select your application (created in step 1)
- View your request activity, including costs and usage details in the dashboard
- Check that your calls appear under the default use case (named after your Python file)
You should see your requests listed with details about the provider, model, tokens used, and estimated costs.
Note: While Pay-i tracks the data in real-time, the dashboard does not update in real-time to prevent the data from shifting while you are viewing an app with live traffic. Each page has a "Refresh Data" button to bring in the latest data.

➡️ Next Steps
Congratulations! You've completed the first step in instrumenting your application with Pay-i. In the next section, we'll introduce the first step in customizing telemetry: tracking individual users with track_context(user_id=...).
By the end of this learning path, you'll have a comprehensive understanding of how to use Pay-i to monitor, manage, and optimize your GenAI usage.
💡 Additional Resources
- Getting Started guide - The complete quick reference
- Environment Variables - For secure configuration
- OpenAI Quickstart - Shows limits, analytics tags, streaming, and more
Updated 21 days ago