Getting Started with Pay-i
Thank you for being an early customer of Pay-i!
Overview
This documentation will describe Pay-i concepts, functionality, and code to get you up and running quickly.
At any time, you can send mail to [email protected] to report issues, ask questions, or get help.
🚀 Quickstart
Instrument your GenAI provider calls with Pay-i to automatically track costs, manage budgets, analyze usage patterns, and much more! This quickstart will guide you through the complete process from creating an application to viewing your tracked events.
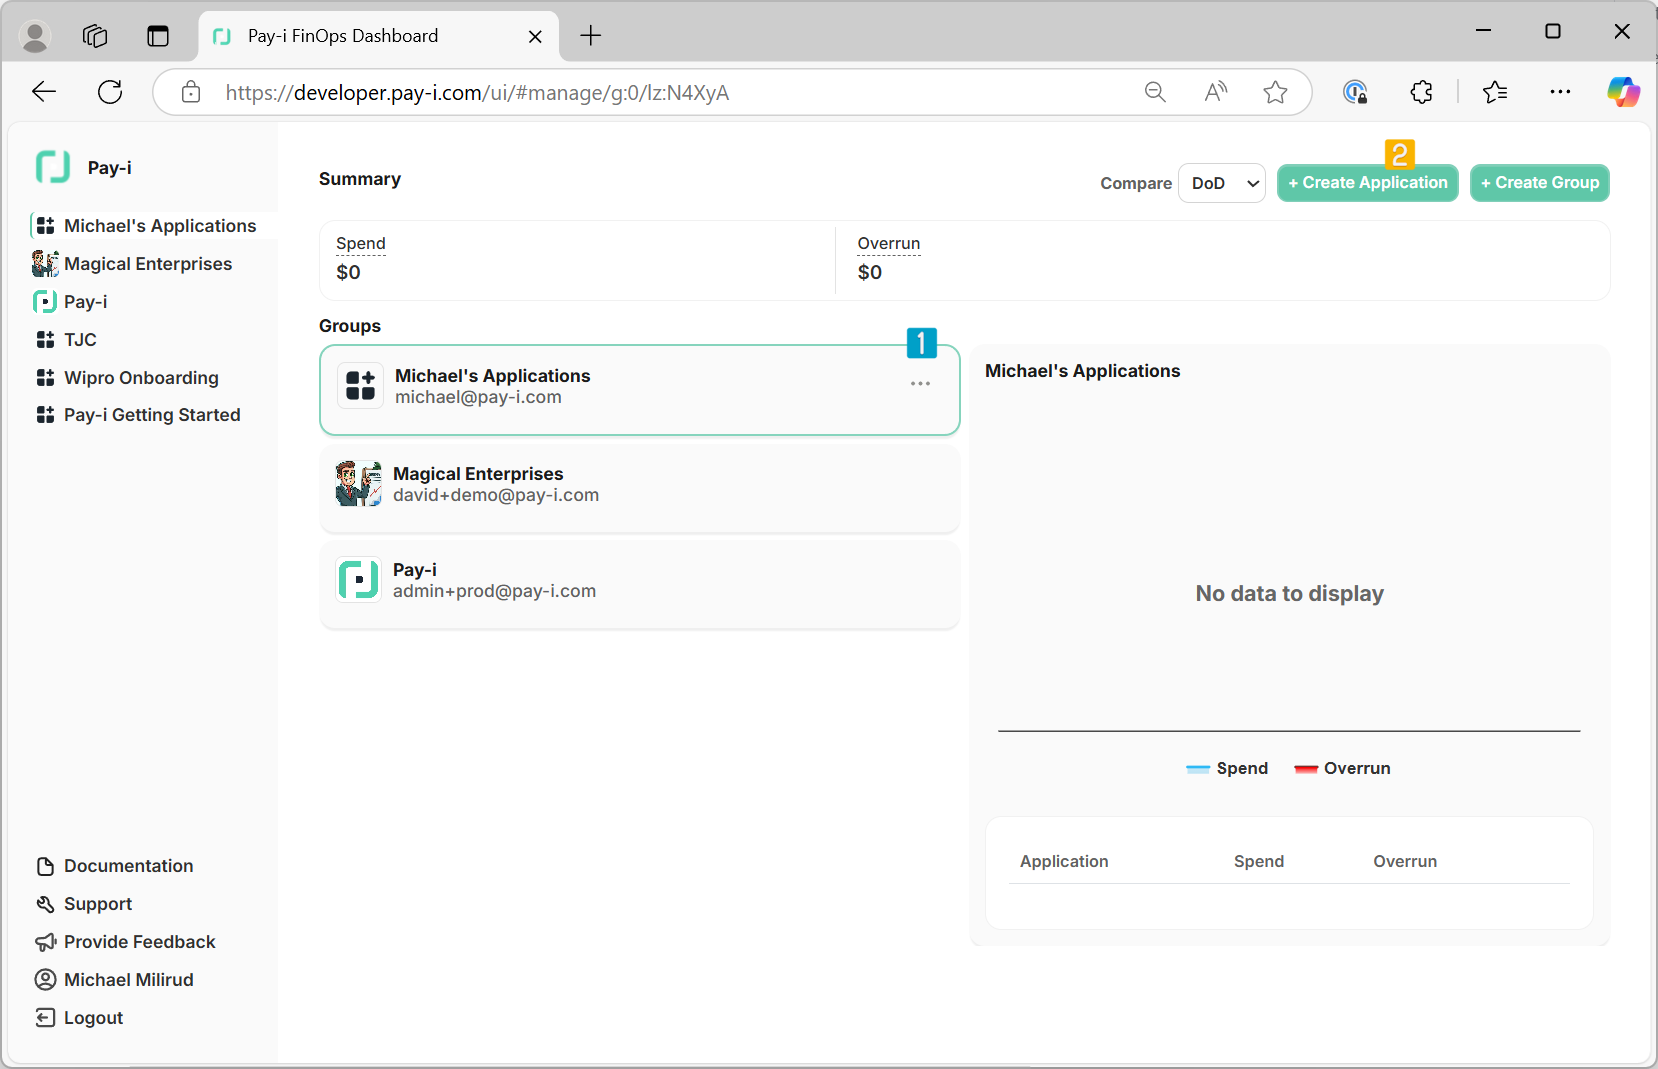
1️⃣ Create an Application in Pay-i Developer Portal
Before you begin coding, you'll need to set up your application and get your API key:
-
Log in to developer.pay-i.com
-
Select your group and click the + Create Application button in the top-right corner
-
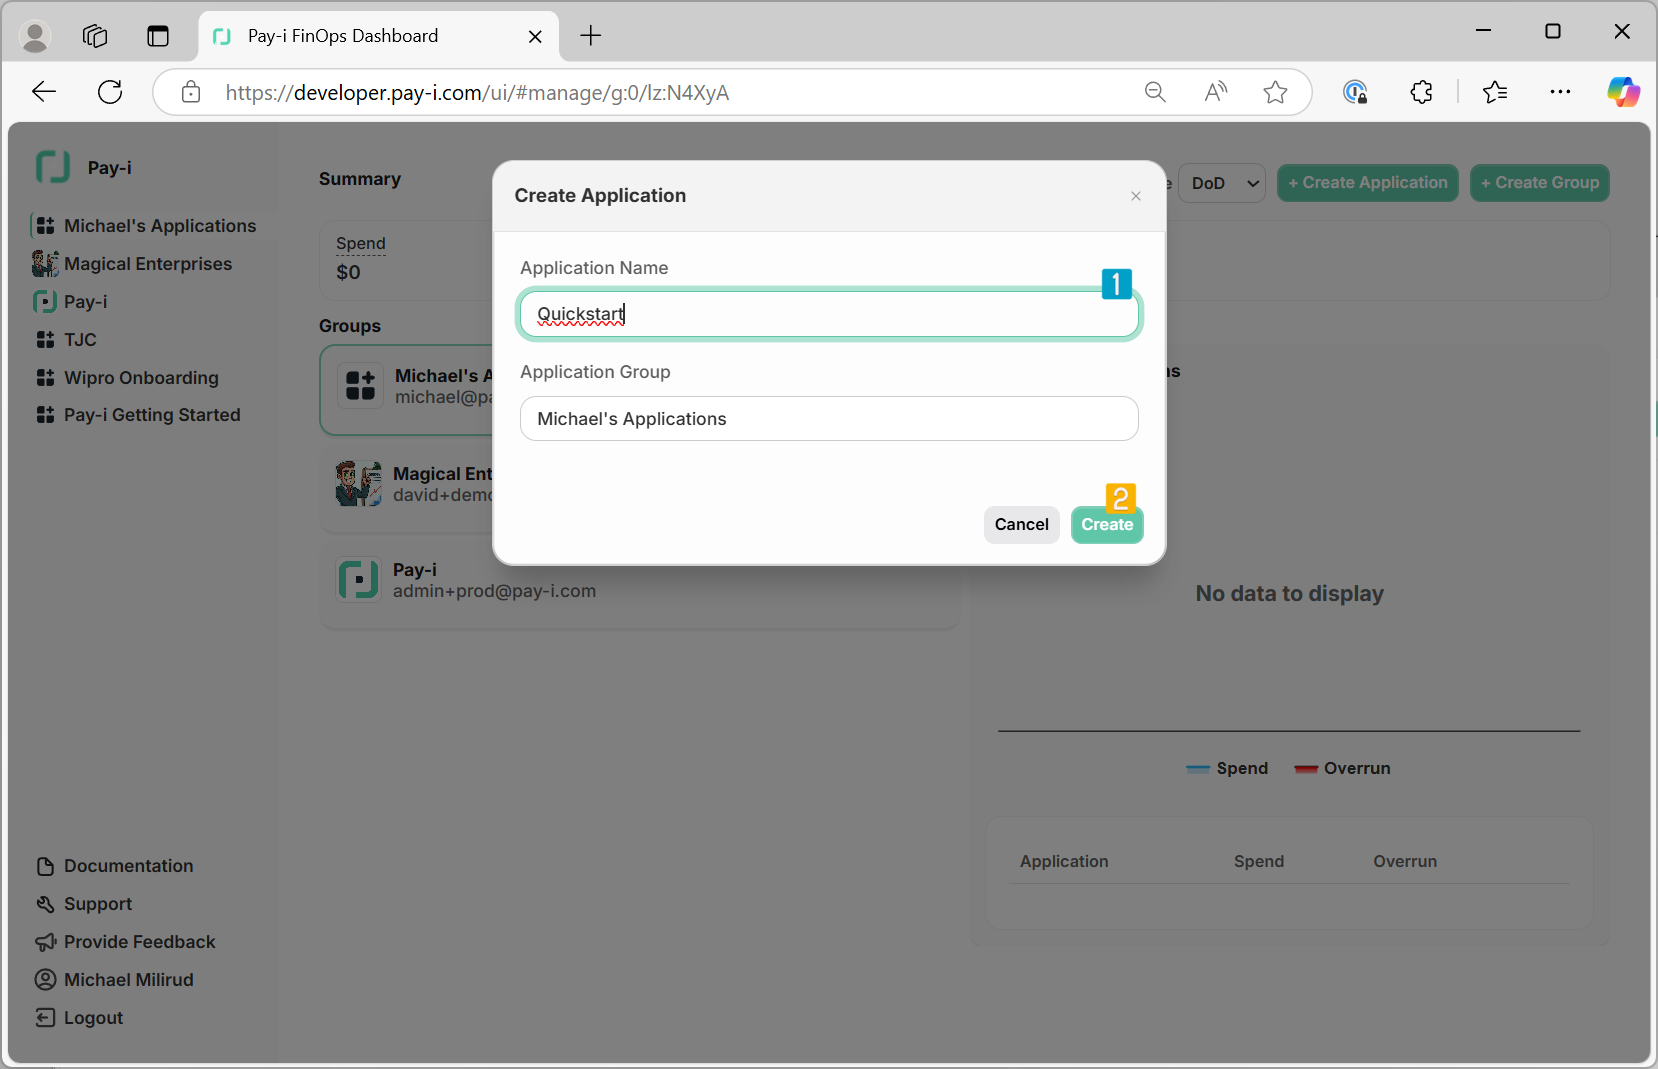
Enter an application name (e.g., "Quickstart") and select a group
-
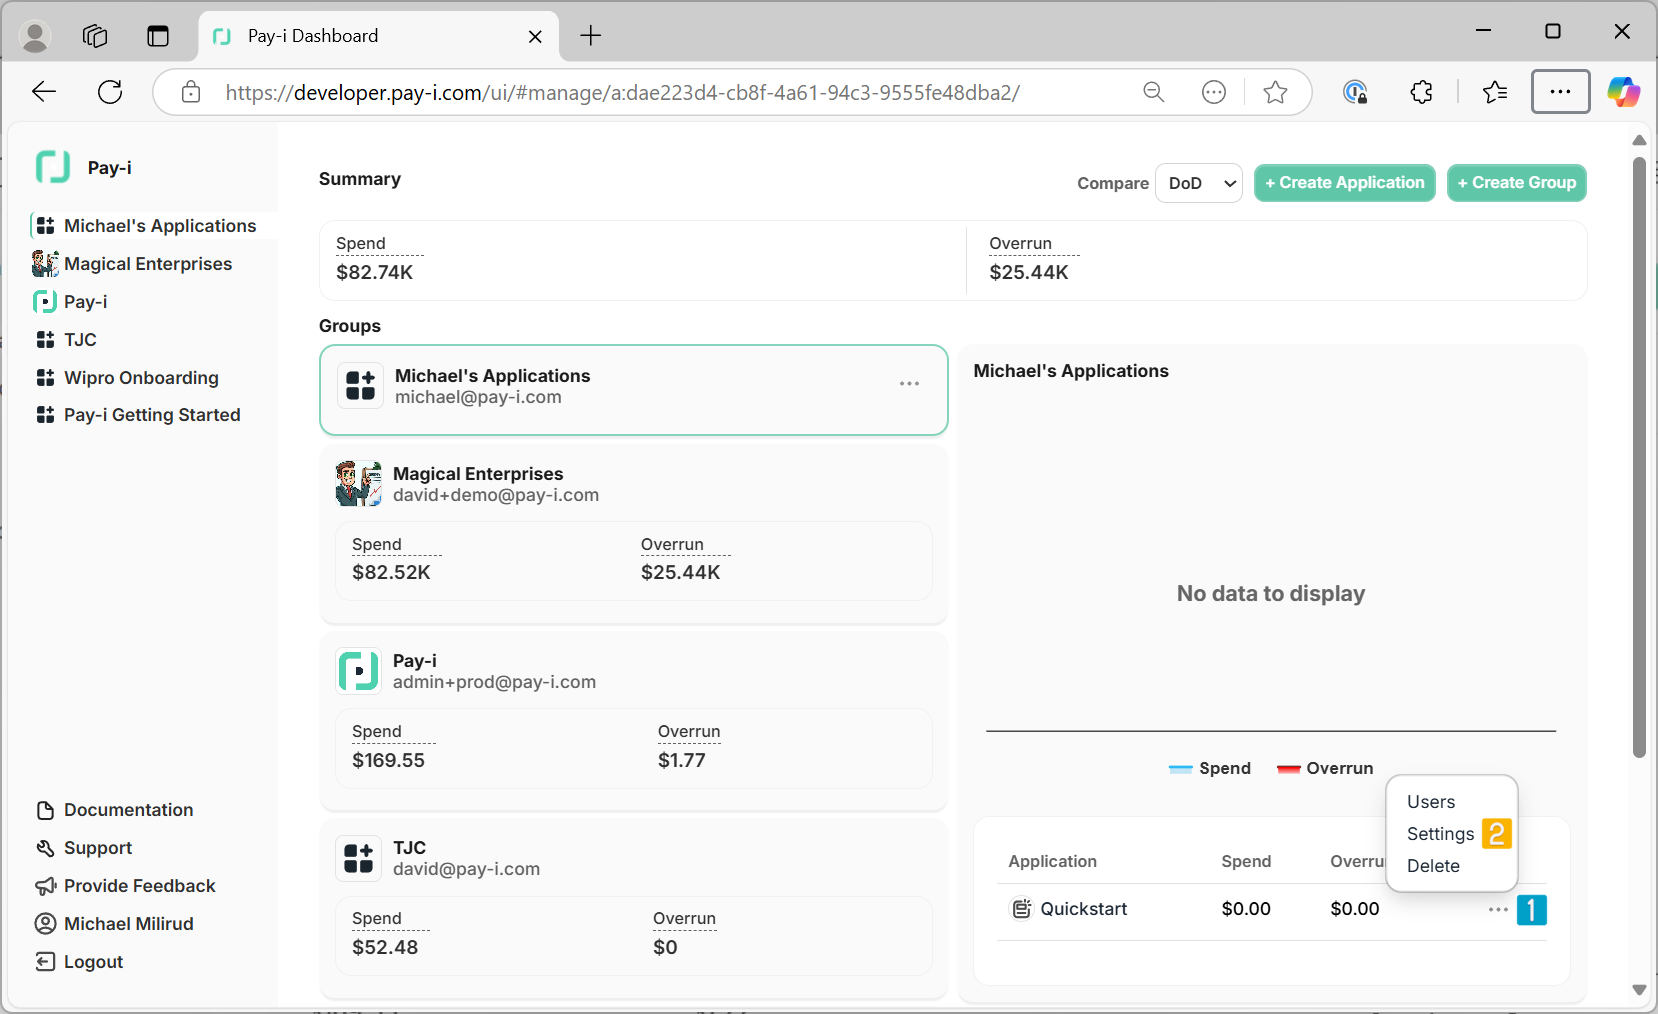
Once created, click on the application's menu (three dots) and select Settings
-
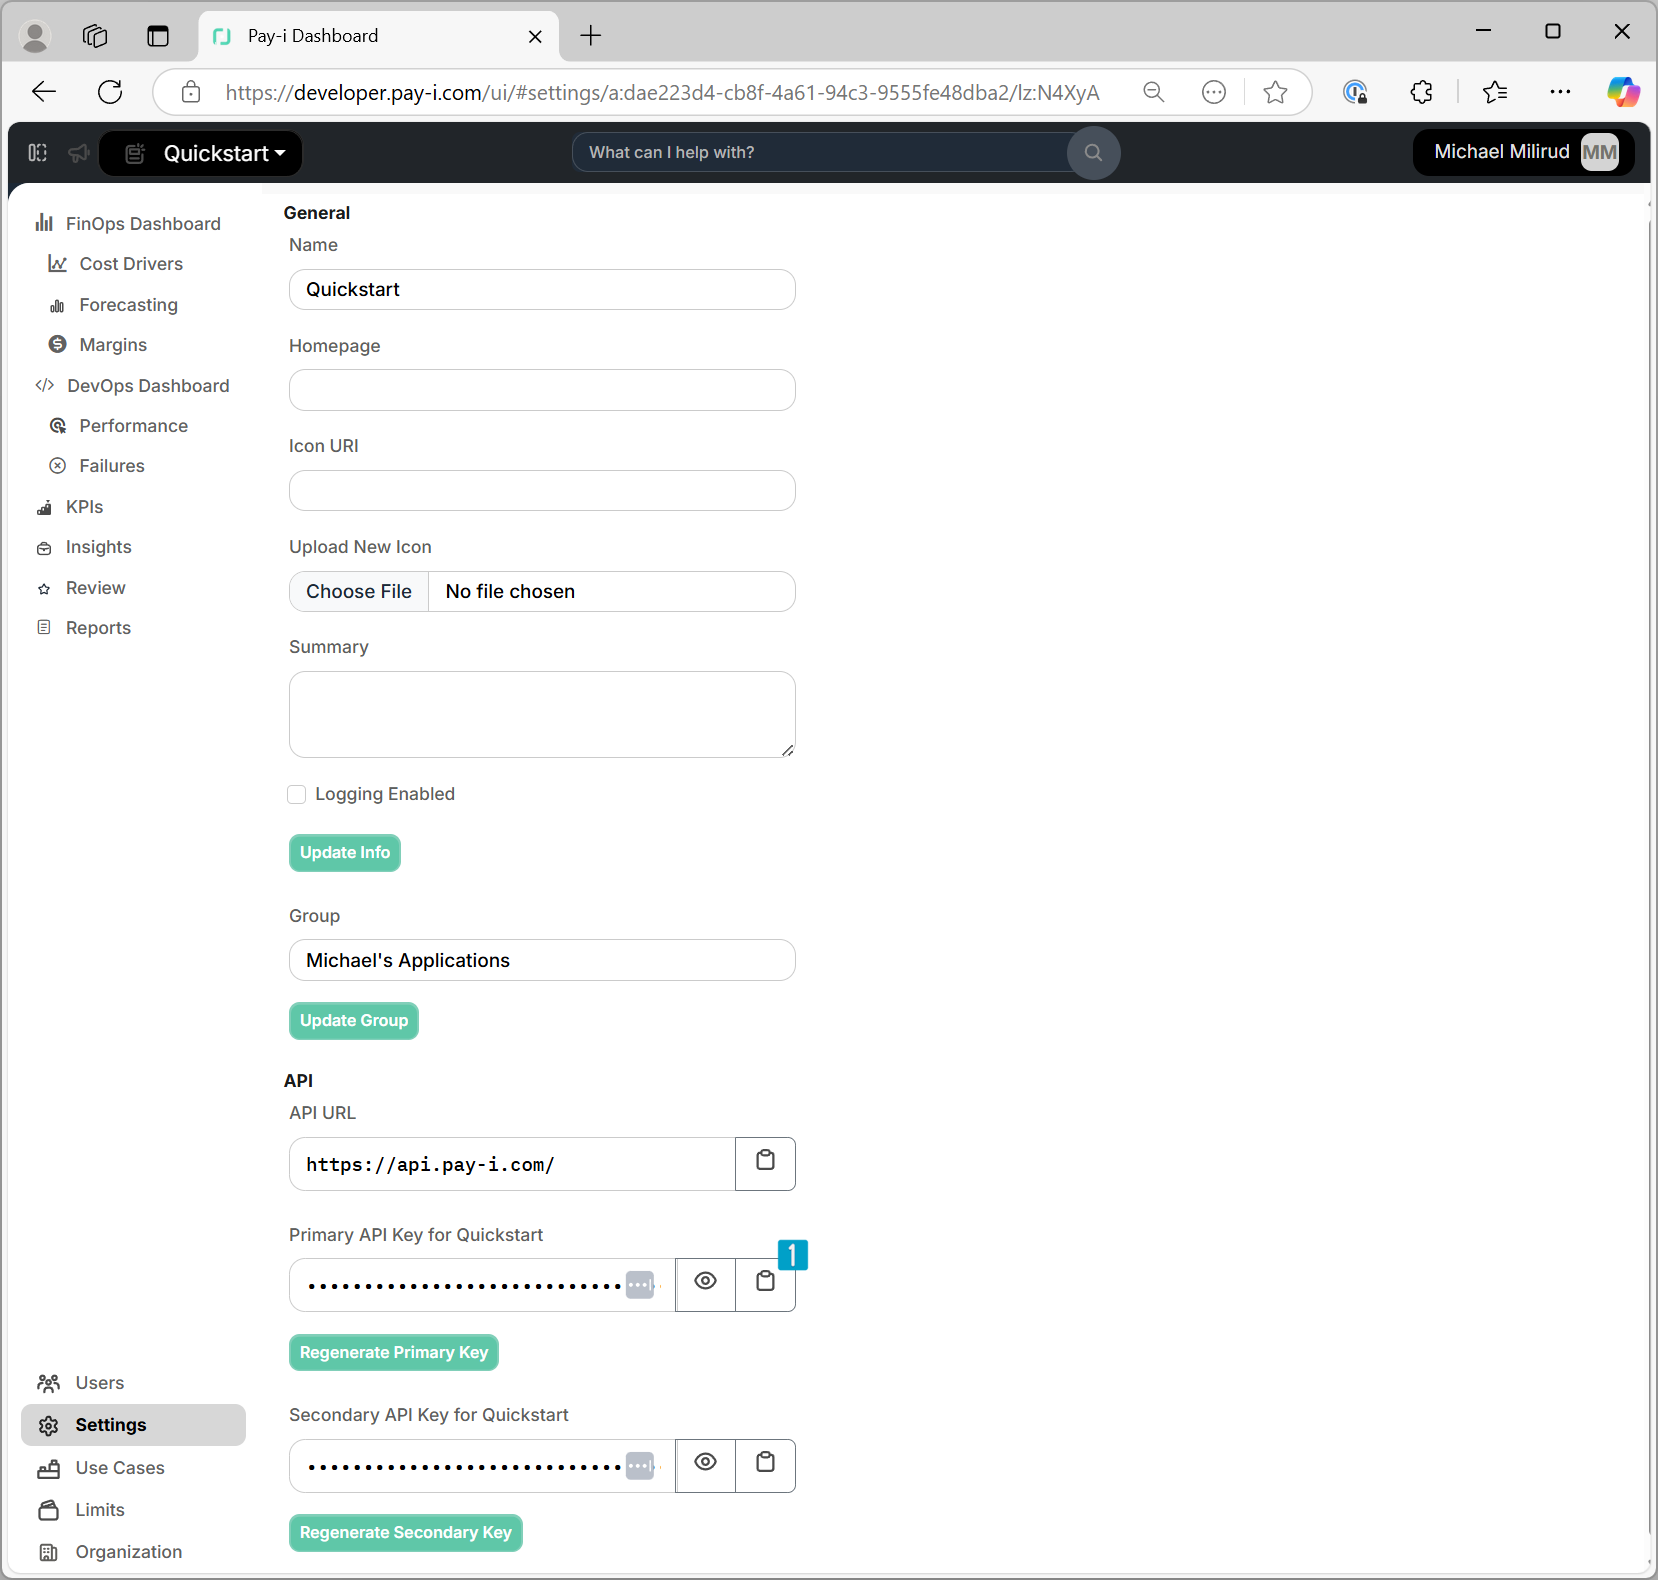
Under the API section, copy your Primary API Key for use in the next steps
Note about Groups: Each user gets their own default group that isn't shared with others. If you need to share applications with team members, you'll need to move them to a shared group. Groups help organize related applications and provide aggregated metrics.
Note: For more details on applications, see the Applications documentation.
2️⃣ Install SDK
Install the Pay-i SDK along with your AI provider's SDK:
pip install payi openai
%pip install payi openai
Note: If you have an older version of the Pay-i SDK installed, use
pip install --upgrade payito get the latest version.
3️⃣ Set API keys
Set your API keys as environment variables (recommended):
export OPENAI_API_KEY="sk-..."  # Your OpenAI API key
export PAYI_API_KEY="api-..."   # Your Pay-i API key from step 1
$env:OPENAI_API_KEY = "sk-..."  # Your OpenAI API key
$env:PAYI_API_KEY = "api-..."   # Your Pay-i API key from step 1
set OPENAI_API_KEY=sk-...  %= Your OpenAI API key            =%
set PAYI_API_KEY=api-...   %= Your Pay-i API key from step 1 =%
4️⃣ Set up Pay-i Instrumentation
Initialize Pay-i instrumentation to track your GenAI usage:
import os
from openai import OpenAI
from payi.lib.instrument import payi_instrument

# Initialize Pay-i instrumentation (automatically creates payi sync/async clients using environment variables)
payi_instrument()

# Configure OpenAI client for direct access
client = OpenAI(api_key=os.getenv("OPENAI_API_KEY"))
Need Block limits? If you require real-time budget enforcement with
Blocklimits, you'll need to use Pay-i Proxy Configuration instead.
5️⃣ Use normally
Make API calls as usual with the configured client:
response = client.chat.completions.create(
    model="gpt-3.5-turbo",
    messages=[{"role": "user", "content": "Hello, world!"}]
)

print(response.choices[0].message.content)
6️⃣ View Your Events
After running your code, you can view your tracked events:
- Return to developer.pay-i.com
- Select your application (created in step 1)
- View your request activity, including costs and usage details in the dashboard
Tip
Looking for more features? Check out:
- Environment Variables - For secure configuration using PAYI_API_KEY and PAYI_BASE_URL
- OpenAI Quickstart - Shows limits, analytics tags, streaming, and more
- Azure OpenAI Quickstart - Same features for Azure OpenAI Service
📚 Example Notebooks
We have several Python notebooks that make it very easy to get up and running with popular Providers.
You can find the notebooks on our GitHub: Pay-i Quickstarts.
We suggest reading through the Pay-i Concepts section at a minimum, which will help you get the most out of Pay-i.
🛠️ Provider Configuration
We provide detailed guides for configuring Pay-i with popular LLM providers:
For a more general overview, check out our Auto-Instrumentation guide.
🧩 Decorators
Our Python Decorators provide an easy way to enhance Pay-i with business context, letting you annotate your functions with metadata that gets passed to Pay-i. This feature is currently only available in our Python SDK. If you would like to see this added for a different language, please contact [email protected].
📖 Interactive API Docs
Head on over to our API Reference to use our interactive API documentation. It requires a Pay-i API key, which you can learn more about in the Authentication section.
We're excited you're here! 💚
Updated 13 days ago